
Last updated October 31, 2026
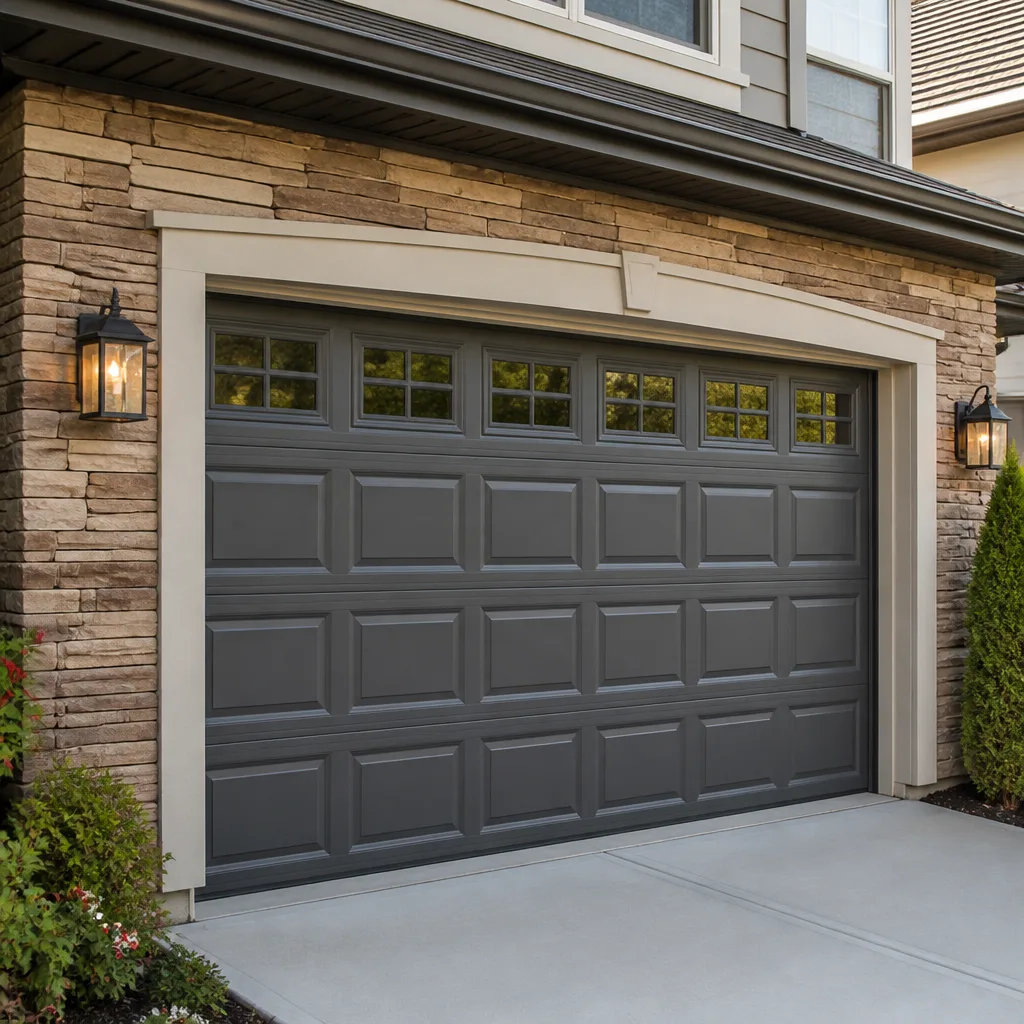 Raised-panel steel
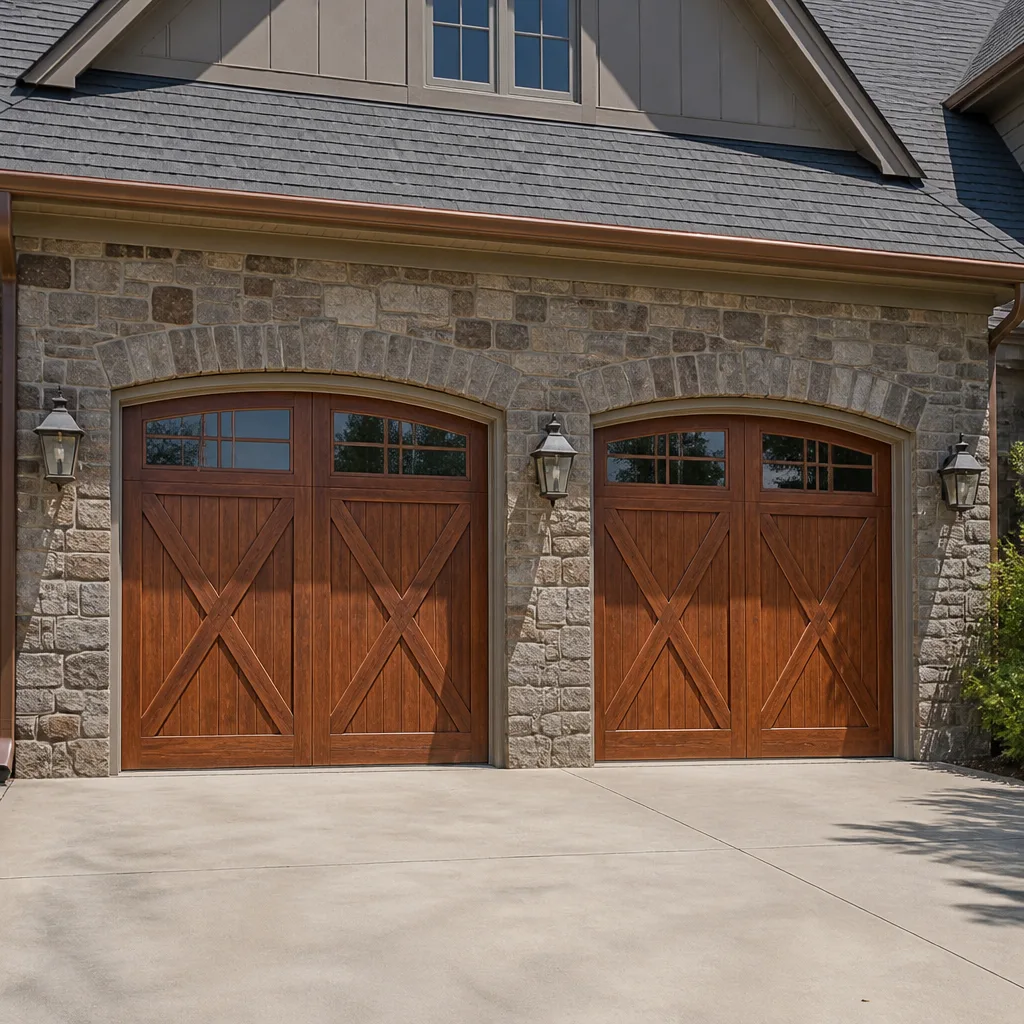 Carriage house
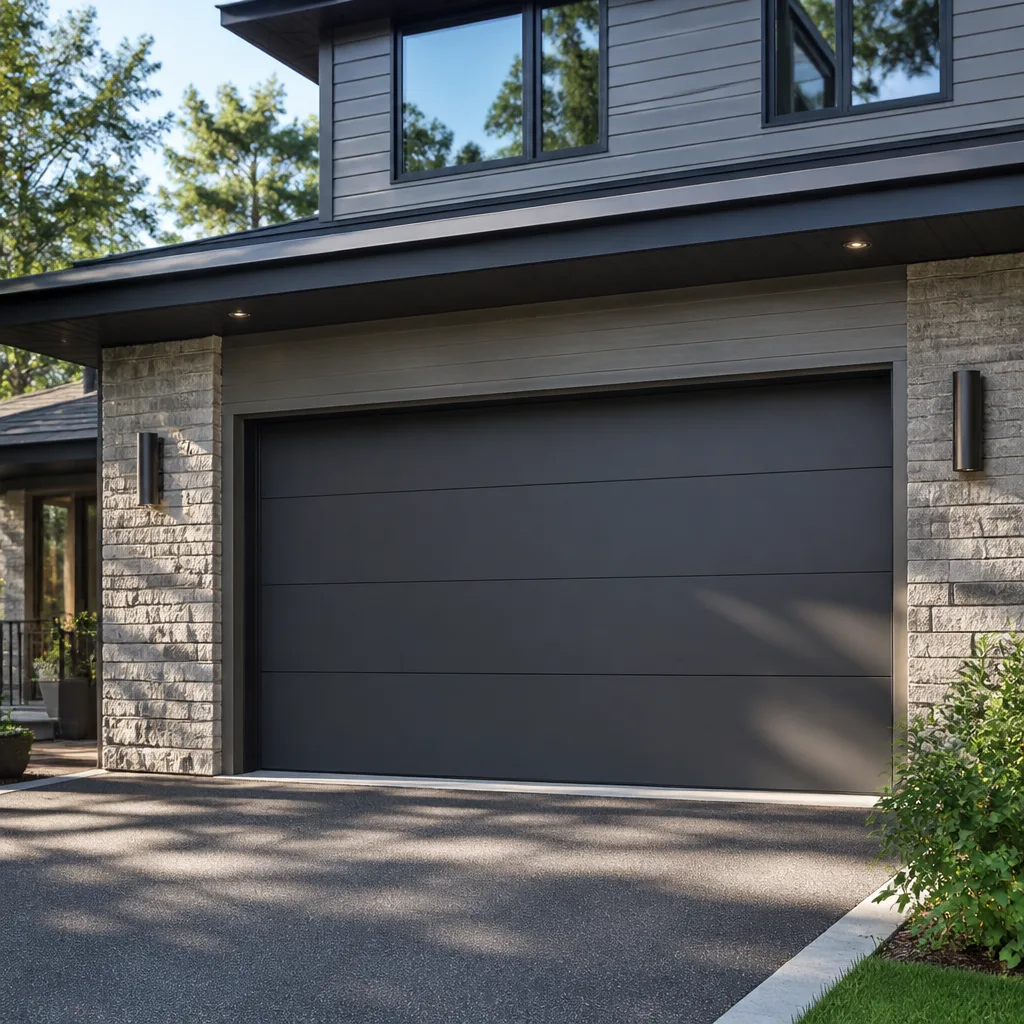 Modern flush
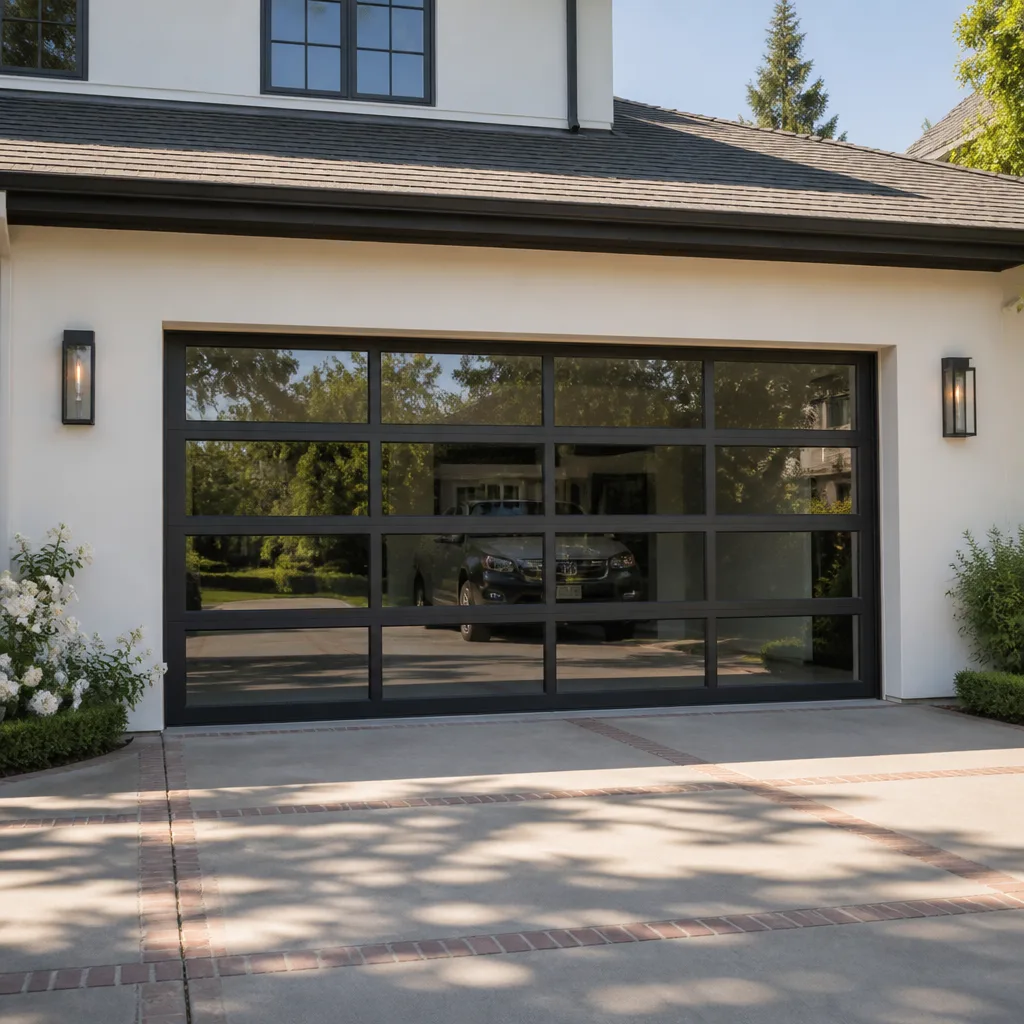 Full-view glass
 LiftMaster openers
 Chamberlain openers
Full 25-point door and opener safety check with every visit - springs, cables, rollers, tracks, and your LiftMaster or Chamberlain opener included
You get a price before we start. It does not change when the truck arrives.
Get your free estimateGarage Door Repair Troubleshooting in Fort Lauderdale: Common Problems and How to Fix Them
A garage door that “just seems slow” is one of the most misread symptoms in the trade. It can mean a dying opener motor, a fraying cable carrying too much load, or a torsion spring that has already lost 30% of its tension and is days from snapping. In Fort Lauderdale, where salt air and humidity accelerate wear on metal components year-round, that slow door is rarely just a quirk. This guide walks you through a symptom-first diagnostic approach so you can accurately identify what’s actually wrong before touching anything or calling for our Garage Door Repair services. You’ll learn what’s safe to check yourself, what needs a trained technician, and how to describe the problem in a way that saves you time and money.
Quick Answer
Garage door problems fall into two broad buckets: issues with the door itself (springs, cables, rollers, tracks, panels) and issues with the opener (motor, logic board, safety sensors, remote signal). The fastest way to isolate the problem is a manual disconnect test: pull the red emergency release cord, open the door by hand, and pay attention to whether it’s heavy, sticky, noisy, or unbalanced. If the door moves smoothly by hand but not with the opener, the opener is the problem. If the door is difficult to move manually, the mechanical system needs attention, and springs or cables are the usual suspects.
Styles & brands we work with
- Raised-panel steel
- Carriage house
- Modern flush
- Full-view glass
- LiftMaster openers
- Chamberlain openers
Table of Contents
- Why Your Garage Door Is Making Noise
- Why Your Garage Door Is Moving Too Slowly
- Why Your Garage Door Opens Partway and Stops
- Why Your Garage Door Reverses Before Hitting the Floor
- Why One Side of Your Garage Door Sags
- Why Your Garage Door Remote Stopped Working
- Why There Are Gaps Between Your Garage Door and the Frame
- Common Mistakes to Avoid
- When to Call a Professional
- Frequently Asked Questions
Why Your Garage Door Is Making Noise
Noise is the first symptom most homeowners notice, and it’s also the one they normalize the fastest. A grinding noise, a popping noise, a squeal, or a rattle each points to a different problem, and treating them as one generic “noisy door” issue leads to wasted effort. Here at Fort Lauderdale Garage Door Repair, we diagnose by sound first because it narrows the problem faster than any visual inspection.
Here’s what specific noises typically mean:
- Grinding or metal-on-metal scraping: Rollers are worn out or the track is misaligned. In coastal Fort Lauderdale, steel rollers corrode faster than they do inland, and once the ball bearings inside seize, the roller slides instead of rolls. This grinds flat spots into both the roller and the track.
- Popping or snapping: Sections of the torsion spring are binding or the spring is beginning to fail. A single loud pop often means one spring on a two-spring door has snapped. The door still works because the remaining spring carries the load, but it’s now dangerously overstressed.
- Squealing or high-pitched whine: The opener’s drive gear or belt is dry or stripping. Plastic gears inside LiftMaster and Chamberlain openers are a common wear point, especially when the door’s balance is off and the opener is working harder than it should.
- Rattling: Loose hardware. Hinges, track brackets, and opener rail bolts work themselves loose over time, and the vibration amplifies through the entire assembly.
One correction worth making here: lubricating the wrong component makes noise worse, not better. The plastic drive gears inside the opener head and the rubber weatherstripping along the door’s bottom and sides should never be lubricated. Grease on a plastic gear attracts grit and accelerates wear. Oil on rubber seals causes them to swell, crack, and fail. The components that do need periodic lubrication are the steel rollers’ ball bearings, the hinges, the torsion spring, and the opener rail, and only with a product designed for garage doors, not WD-40.
Why Your Garage Door Is Moving Too Slowly
A slow door is a symptom, not a problem on its own. The door relies on a spring system that counterbalances its full weight, and the opener only provides the push. When the door slows down, something is forcing the opener to work harder than it was designed to, and that imbalance shortens the life of every component in the chain.
Run through this diagnostic sequence in order:
- Pull the emergency release cord. With the door disconnected from the opener, lift it manually. If it’s heavy, sticky, or won’t stay in the half-open position on its own, the spring system is the problem, not the opener.
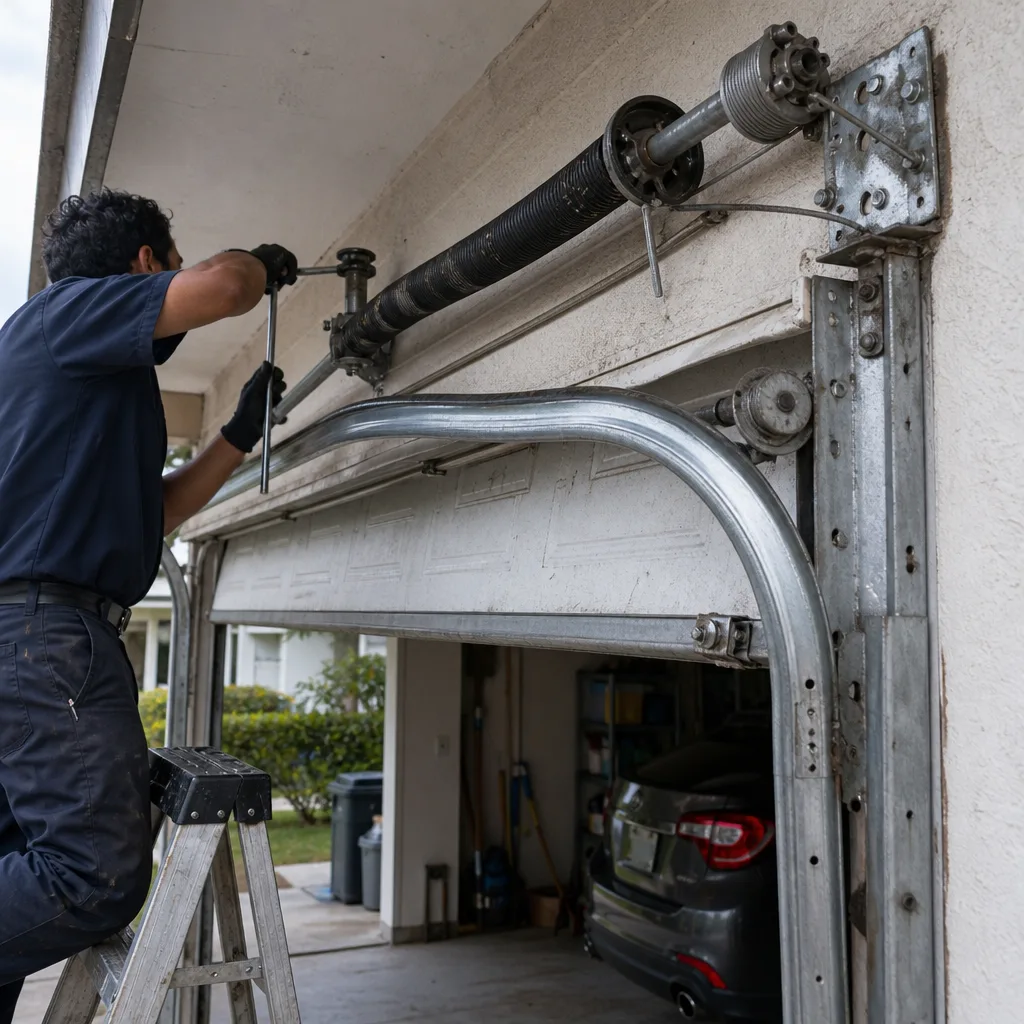
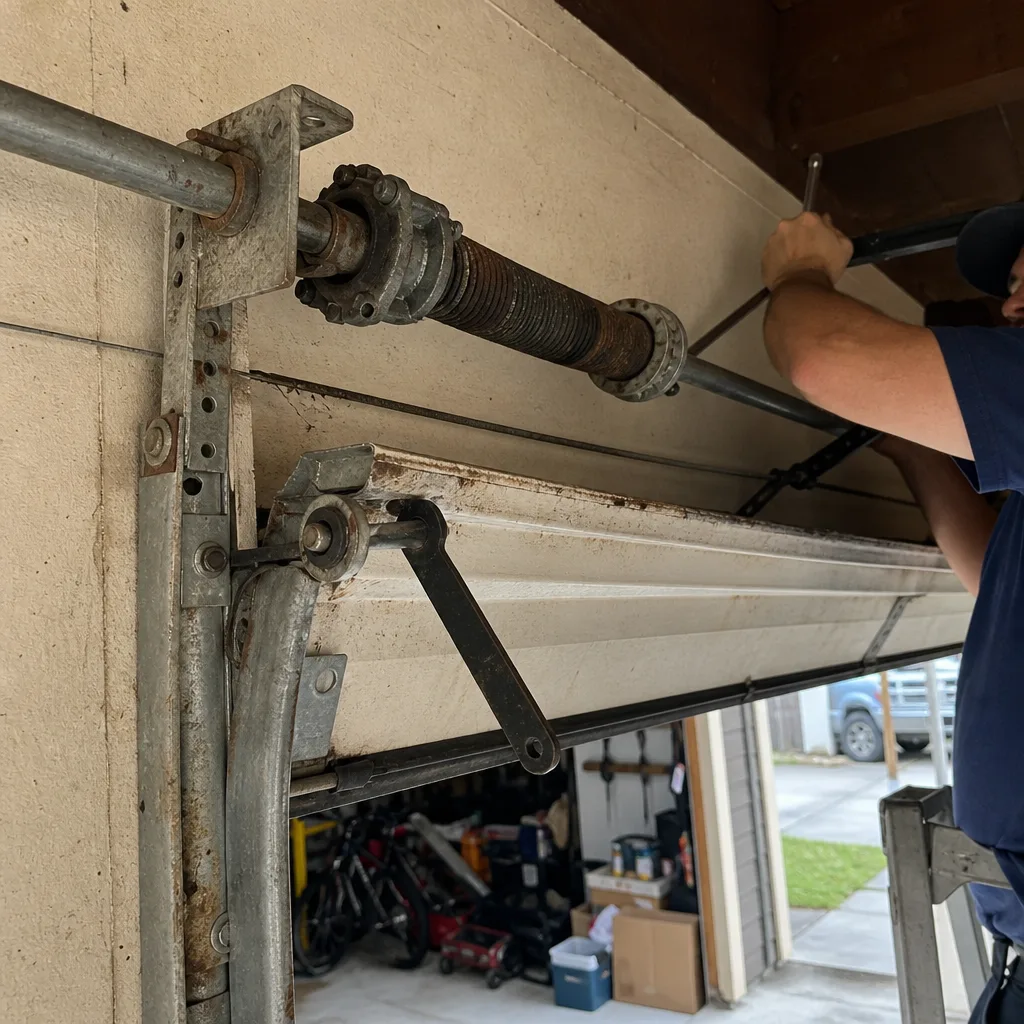
- Check the spring’s condition. On a torsion spring system above the door, look for a visible gap in the coil, which indicates a break. On an extension spring system along the side tracks, look for a stretched or separated spring. A door with a broken spring is dangerous to move manually because the full weight, 130 to 400 pounds depending on the model, is unresisted.
- Observe the door at the halfway point. A properly balanced door stays put when released at waist height. If it drifts down, the spring has lost tension and is nearing failure. If it drifts up, too much tension is on the spring, which stresses the opener’s down-travel components.
- If the manual test passes, the slowdown is in the opener. Older openers lose motor efficiency as capacitors and circuit boards age. The fix may be a replacement capacitor, a new drive gear, or a full opener replacement depending on the unit’s age and condition.
In Fort Lauderdale, we see one additional factor indoors: the humidity. Homeowners who run a dehumidifier in the garage still put the opener through more thermal cycling than a drier climate would, and that accelerates motor wear. A door that’s been slow for months and then suddenly stops moving at all is almost always a spring that broke completely, not an opener failure.
Why Your Garage Door Opens Partway and Stops
When a door travels a few inches or a few feet and then stops, the most common cause is not a broken motor, it’s the opener’s force-sensing system doing exactly what it was designed to do: detecting resistance and shutting down to protect both the door and the operator. The door stops because the opener believes something is stuck.
The three most common triggers in our experience:
- Dying torsion springs: A spring that has lost significant tension makes the door feel heavier than it is. The opener senses the extra load and stops mid-travel rather than burn out the motor. This is a protective response, and it’s telling you the spring needs attention before it snaps.
- Track obstruction or misalignment: A bent track, a loose roller, or debris in the track creates a physical obstruction. The opener’s force sensor reads the resistance and halts. Inspect the full length of both tracks for anything that shouldn’t be there, and check that the tracks are parallel and vertical.
- Limit switch failure: The limit setting tells the opener where “open” and “closed” positions are. If a limit switch is failing or was set incorrectly, the opener may think it’s reached the end of its travel when it’s only halfway there. This is an opener-side problem, not a door-side one.
If the door stops at the same point every time, that’s a limit setting or a physical obstruction. If it stops at a different point each cycle, that’s a load-sensing problem, which points back to spring tension or track friction. For a more complete diagnostic walkthrough, see our guide to Garage Door Repair in Palm Aire, which covers the mechanical failure patterns we see most often in the Fort Lauderdale area.
Why Your Garage Door Reverses Before Hitting the Floor
A door that reverses on the way down and goes back up is a safety feature doing its job, but when it happens repeatedly with no visible obstruction, the safety system itself is likely at fault. In a market like Fort Lauderdale where doors cycle multiple times daily, this failure mode is one of the most common calls we take, and it’s covered in our Garage Door Warning Signs: A Fort Lauderdale Homeowner’s Reference Guide.
Here’s the sequence to isolate the cause:
- Check the photo-eye sensors. These are the two small units, one on each side of the door, about six inches off the floor. Each has a small light. Both should be solid, not blinking. A blinking light means that sensor has lost alignment or is obstructed. Wipe the lens with a soft dry cloth. If one light is out entirely, the sensor is dead or the wiring has failed. Realign by loosening the wing nut, adjusting until the lights are both solid, and retightening.
- Look at the door’s bottom edge and the floor. Sun glare on the sensor eye is a real problem in Fort Lauderdale, especially on west-facing garages in the late afternoon. A low sun angle can blind the receiving sensor and cause intermittent reversals. The fix is usually a sensor hood or a simple repositioning.
- Test the close-force setting. If the sensors check out, the opener’s close force may be set too low. Most openers have two small adjustment dials on the head unit. Increasing close force slightly can resolve a door that reverses because of normal friction, but increasing it too much disables the safety function that protects kids and pets from the full weight of the door. This is a fine adjustment, not a fix-all.
- Check the door balance. A door that drops too fast on the way down triggers the opener to reverse. If the door falls freely when released manually, the springs are not doing their job, and the opener is both the brakes and the engine. That’s beyond what the opener was designed to handle.
If you’ve realigned the sensors, cleaned the lenses, and the door still reverses about a foot from the floor, the likely culprit is a failing travel module or worn drive gear inside the opener. Those are opener-internal repairs. Our garage door opener repair service covers exactly this category, diagnosing the problem at the component level rather than replacing the whole unit out of convenience.
Why One Side of Your Garage Door Sags
A door that sits visibly lower on one side when closed, or hangs crooked when partway open, indicates an imbalance in the load-bearing system. This is not a cosmetic issue. The unbalanced load accelerates wear on the springs, the cables, the rollers, and ultimately the opener itself, and it can put the door at risk of coming off its track entirely.
The most common causes, in order of frequency:
- Broken or failing extension spring: Doors with extension springs, common on older Wayne Dalton and Craftsman models, use two independent springs, one on each side. When one loses tension or breaks, the other side does all the work and lifts faster, creating the sag.
- Frayed or stretched cable: Each side of the door is lifted by a steel cable. When one cable stretches or begins to fray, that side lifts slower or hangs lower. A frayed cable under tension is a serious hazard. It can snap without warning and whip with enough force to injure anyone nearby.
- Worn roller or bent track on one side: A single seized roller creates drag on one side only. The same applies to a track that’s been nudged out of alignment by a car bumper or just years of vibration. The door binds on that side and sags.
- Loose hinge or bracket: Aluminum and steel panels are connected by hinges, and those hinges are held by screws that back out over time. A loose hinge on one side changes how that section travels, which changes the door’s alignment.
In Fort Lauderdale, the salt air is rough on cables. We see cable corrosion and fraying on doors as young as five years old, particularly seasonal homes that sit closed for months at a time with no cycling. The fix for most one-side sag issues involves retensioning or replacing the spring system and possibly replacing both cables. If your door needs more extensive work, our garage door installation team can assess whether replacement makes more financial sense than repeated repairs.
Why Your Garage Door Remote Stopped Working
When a remote stops working, the first instinct is to blame the battery or the remote itself. In our experience with LiftMaster, Chamberlain, and Genie openers, the remote is rarely the actual failure point. The problem is more often in the opener’s receiver, the safety sensors, or the lockout feature that homeowners forget they activated.
Work through this sequence before replacing anything:
- Check the wall button. Does the door open and close normally from the hardwired wall control? If yes, the opener’s receiver and motor work fine, and the problem is in the remote signal path. If no, the problem is in the opener or the safety system, and the remote was never the issue.
- Press the lock button. Most wall controls have a lock feature that disables all remote operation, useful when you’re away on vacation and want to disable remote access. If the lock is engaged, the wall control may show a steady or flashing lock icon, and no remote will work until that lock is released.
- Check the sensor lights. On many opener models, especially LiftMaster and Chamberlain units manufactured after 1998, the remote will not operate the opener if the photo-eye sensors are misaligned or obstructed. The logic board sees the sensor fault and ignores remote commands. Both sensor lights need to be solid before a remote signal will be honored.
- Try a different remote. If you have a second remote and it works, the first remote’s board or buttons have failed. If neither remote works, the opener’s receiver board or its antenna is the problem, not the remotes.
- Check for frequency interference. LED bulbs, especially cheap ones, emit electromagnetic interference in the same frequency range that garage door remotes use. If your remote worked fine until you replaced the bulb in the opener head or a nearby fixture, remove the bulb and retest.
Replacing the remote battery is worth trying early, but if it doesn’t solve the problem, the next step is a receiver-side diagnosis, not a second new battery. For opener-specific problems like receiver failures, logic board faults, or reprogramming issues, the same principles apply to every brand we service.
Why There Are Gaps Between Your Garage Door and the Frame
Visible daylight around the perimeter of a closed door is a problem most homeowners don’t address until something else goes wrong. But those gaps tell you a lot about the health of the door system, and they’re one of the most useful diagnostic clues we have in Fort Lauderdale, where the gaps also let in humidity, insects, and small animals.
Here’s what different gap patterns mean:
- Gap at the top corners: The door’s top panel is not seating fully against the opening. This can be a limit setting issue where the opener stops before the door is fully closed, or it can indicate that the top panel is warped. Warping is common on older steel doors in Florida’s heat and humidity.
- Gap along one side, top to bottom: The track on that side has been knocked out of vertical alignment, or the door jamb itself has shifted. In Fort Lauderdale’s sandy soil, minor foundation settling is normal, and it shows up here first.
- Gap in the center at the floor: The concrete slab has risen or the bottom weatherstripping has failed. Fort Lauderdale’s high water table makes slab movement a fact of life in some neighborhoods. If the door sits flush at the corners but shows a telltale arc of daylight in the middle, the floor has likely moved, not the door.
- Uneven gap on one side at the floor only: This pairs with the one-side sag symptom described earlier. It’s almost always spring- or cable-related, and it means the door is closing unevenly.
Adjusting the limit setting is a safe homeowner fix for a door that doesn’t quite seat at the top. Adding new bottom weatherstripping is also straightforward and worthwhile for both pest control and energy efficiency. But gaps that trace back to spring tension, track alignment, or a warped panel require equipment and training, as we explain in How to Hire a Garage Door Contractor in Fort Lauderdale: A Step-by-Step Guide. Those are not adjustments you should attempt while standing under the door.
Common Mistakes to Avoid
- Lubricating the wrong components. Greasing the plastic drive gear, the rubber weatherstripping, or the photo-eye lenses accelerates failure. Only the ball bearings, hinges, spring, and chain or rail should see lubricant, and the right type matters. Spray lubricants designed for household use attract grit and gum up over time.
- Ignoring a slow, noisy door until it fails. A noisy door is communicating. Waiting until the spring snaps or the opener burns out turns a $150 adjustment into a $400 emergency call. In Fort Lauderdale, where humidity accelerates the wear curve, the gap between “annoying” and “failed” is shorter than in most climates.
- Adjusting spring tension yourself. Torsion springs are under hundreds of pounds of torque. A spring that lets go while you’re winding it can shatter a wrist or worse. This is not a YouTube project. It’s a trained professional job, no exceptions.
- Replacing the opener when the door is the problem. If the door is unbalanced, a new opener will burn out the same way the old one did. The spring system and the opener need to work together, and the springs need to be dialed in first.
- Disconnecting the door from the opener while it’s open. Pulling the emergency release while the door is in the raised position can cause it to slam down with full force if the spring is broken or severely stretched. The safe sequence is to release only when the door is fully closed, or to support the door while releasing if it’s open.
- Forgetting about the lock button. Half the “dead remote” calls we get are resolved over the phone by pressing the lock button on the wall control. Check it before you replace batteries, remotes, or the opener itself.
- Adjusting both limit screw and force dials blindly. These settings interact. Crank the force too high and your door becomes a crushing hazard. Nudge the limit wrong and the door won’t seat or won’t clear. Mark the original positions before touching anything so you can return the settings to baseline.
When to Call a Professional
If your manual disconnect test reveals a heavy, unbalanced door, the springs or cables are the problem, and those are not DIY components. Broken torsion springs, frayed cables, and misaligned tracks under load all present serious injury risk to anyone without proper training and equipment. The same applies to any problem requiring you to work directly under the door with the spring system engaged. If your diagnostic points to the opener but you’ve already checked the sensors, the lock button, and the remote batteries, the fault is likely in the logic board, capacitor, or drive assembly, which requires opener-specific knowledge to diagnose accurately. Fort Lauderdale Garage Door Repair offers free estimates in Fort Lauderdale. Call (855) 382-3858 and we’ll identify the exact problem before you spend anything.
Frequently Asked Questions
Minor adjustments like sensor realignment or limit setting typically run $85 to $150, roller replacement usually falls between $120 and $220 depending on how many rollers are replaced, single spring replacement averages $200 to $350, and opener replacement typically starts around $350 and goes up based on the unit’s features. These ranges reflect what we see across Fort Lauderdale and Palm Aire, but the only way to get an exact figure is a 15-minute on-site assessment. Call (855) 382-3858 for a free estimate.
Yes. We keep torsion and extension springs for most common door models on our trucks, including units from Wayne Dalton, Craftsman, Raynor, and LiftMaster. The repair itself takes 45 minutes to an hour in most cases, and we quote the full price before any work begins.
No. The price you’re quoted before work starts is the price you’ll pay. We don’t hit you with a surprise line item after disassembly. If we find something unexpected during the repair, we stop, show you what we found, and get your clear approval before proceeding.
In most cases, the problem is a failing logic board or a power fluctuation issue. Fort Lauderdale’s afternoon thunderstorms create frequent brownouts, and older Chamberlain and LiftMaster boards are sensitive to those voltage dips. A replacement board usually solves it, and that’s a repair we can do without replacing the entire opener motor assembly.
In Fort Lauderdale’s salt air and humidity, a service inspection every 12 to 18 months is sensible for most doors. The inspection catches cable corrosion, roller wear, and spring fatigue before they become failures, and the cost is a fraction of an emergency repair. Seasonal homes that sit closed for months at a time benefit from a service at the start of each winter season.
Our trucks are stocked with the most common wear items for the eight major brands we service: LiftMaster, Chamberlain, Genie, Clopay, Amarr, Wayne Dalton, Craftsman, and Raynor. That includes springs, rollers, cables, sensor kits, and drive gears. If your door needs a non-stock component, we’ll give you a firm delivery timeline before we leave the driveway, and the estimate is still free.
The Bottom Line
Your garage door’s symptoms tell a story, and reading them correctly changes everything about the outcome. A noisy door is loud for a reason. A slow door is slow for a reason. A door that reverses, stops short, or sags to one side is reporting a specific fault, and the diagnostic tree in this guide exists to help you translate those signals before they become expensive failures. The manual disconnect test is your single most valuable tool: it splits the problem into door mechanics versus opener electronics in about sixty seconds. From there, everything gets clearer. If you’re in Fort Lauderdale and still aren’t sure what you’re looking at, call (855) 382-3858. We’ll tell you what’s wrong and what it costs to fix. If the door is fine and we don’t need to touch it, we’ll tell you that too.
Written by the team at Fort Lauderdale Garage Door Repair, serving Fort Lauderdale since 2018. For more guides & resources, visit our blog.
See the difference
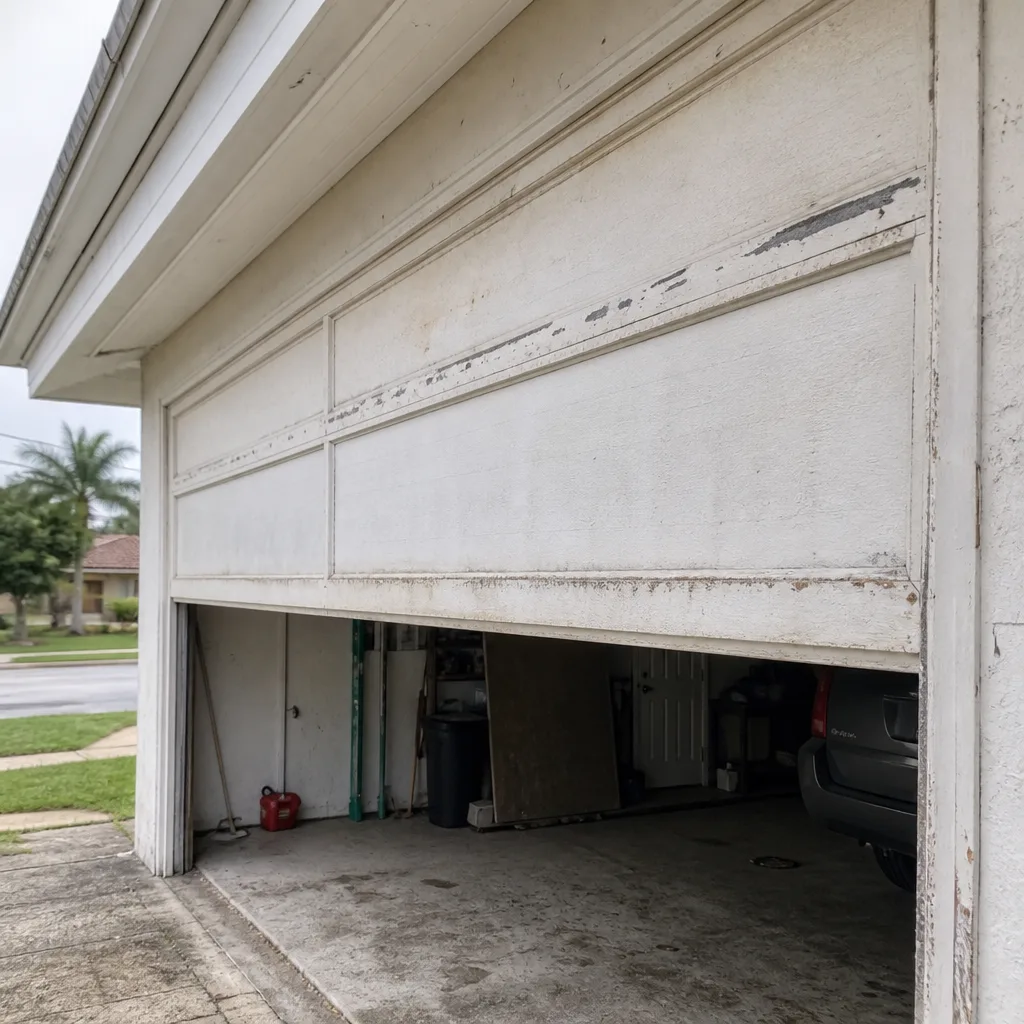 Before
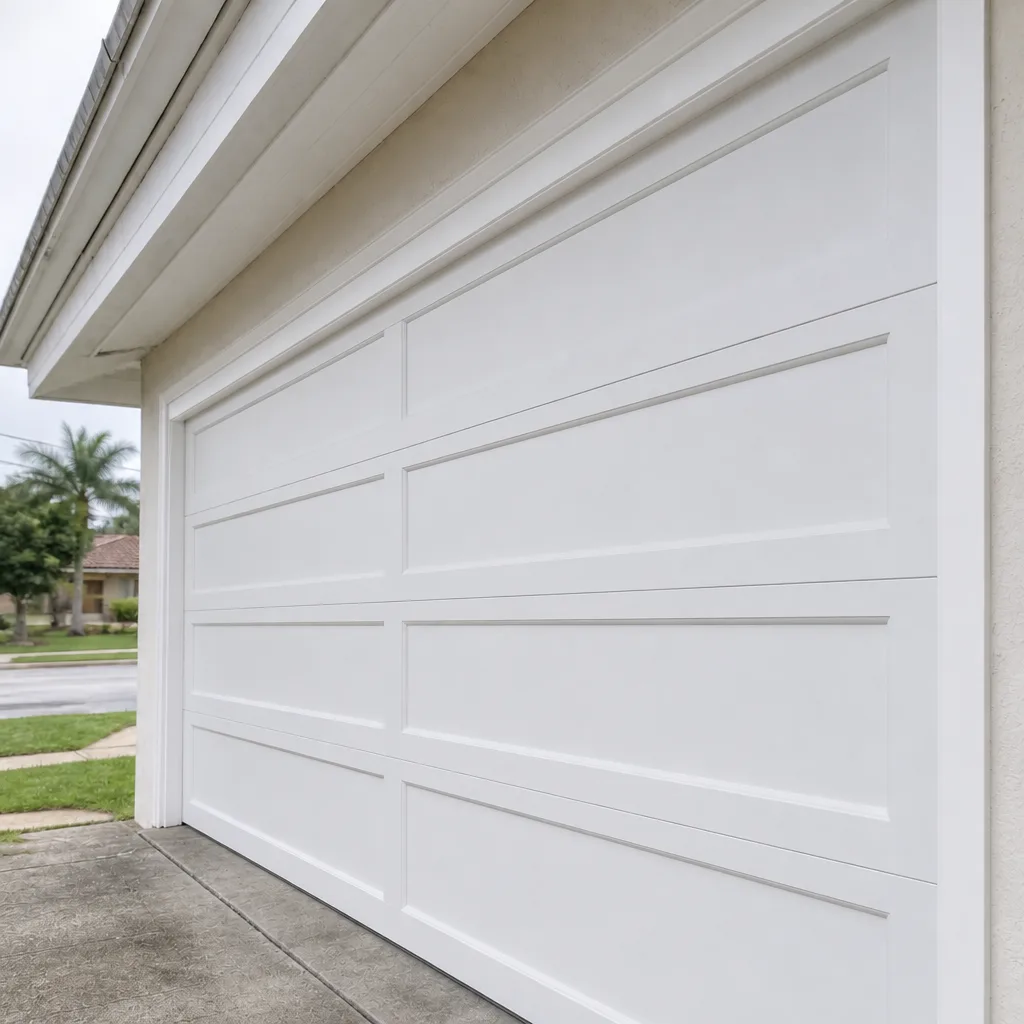 After
 Before
 After
 Before
 After